


Name: A10
Side: GDI
Special Power Type: Air strike
ERA: Tiberian Dawn

The Napalm strike is a powerful anti-structure air strike. It is available after an extensive period of time has passed (360 seconds), once your Armoury (tech centre) is up.
So you can already see the first difference. This support power is in the style of a mini super weapon. It is not initially available, but requires a wait for it to be ready. And the second big difference to standard attack support powers, is that it cost nothing to use once it is ready!
The idea here is to move away from the standard C&C3 support power bombardment, in which once a key technology structure is placed, almost instantly a large number of attack support powers are fired off, devastating the enemy.
While it is expensive do this, typically it is rather simple to insure that support powers are worth the cost of use (the worst example of this being the Tiberium research lab of Kane's wrath, and the nasty, simple to use one click support powers).
By forcing a wait with some support powers, it adds some much needed variety to the system, while also being more reminiscent of some of the support powers in older C&C games.
It also means that in terms of a deadlock, players will have free support powers that they can use to try to break said deadlock.
Gameplay
The simple thing would be to compare it to the Hornet bombing run.
The damage type of the Napalm strike is 'GRENADE' which means that it is best used vs structures. The Hornet's damage type is 'CANNON' which is most effective against vehicles. So obviously you can see what the preferred target type is for each air strike.
This is not to say that you cannot pick other targets for these strikes, it is just a case of what they are best used against.
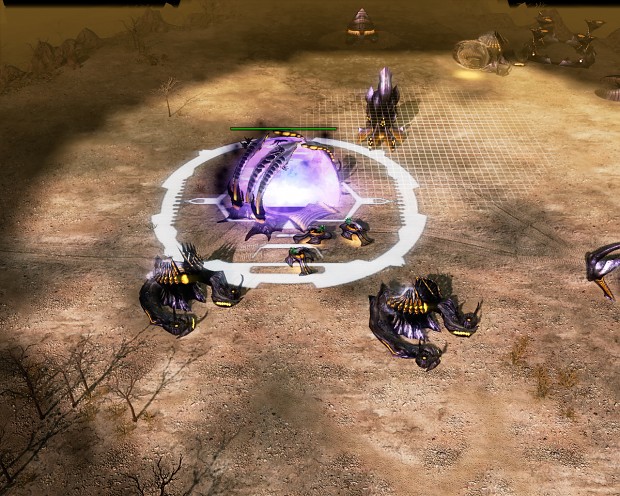
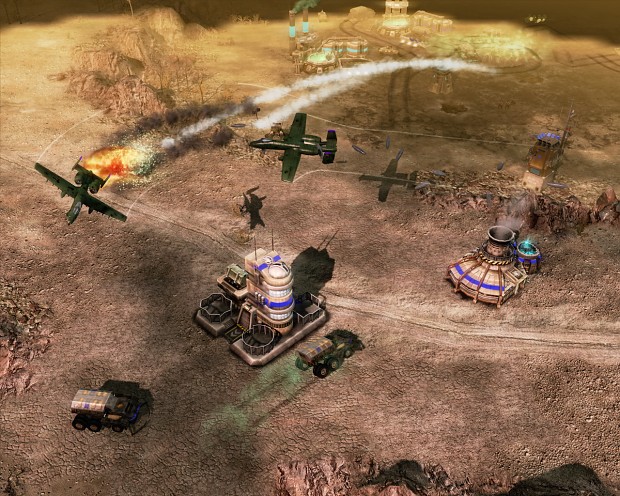
Easy target!
Done!
The A10 is slower, but has a lot more health then the Hornet, so despite being slower, the A10 has much more survivability and is a lot harder to take down (for reference it has the same health as the Orca bomber).
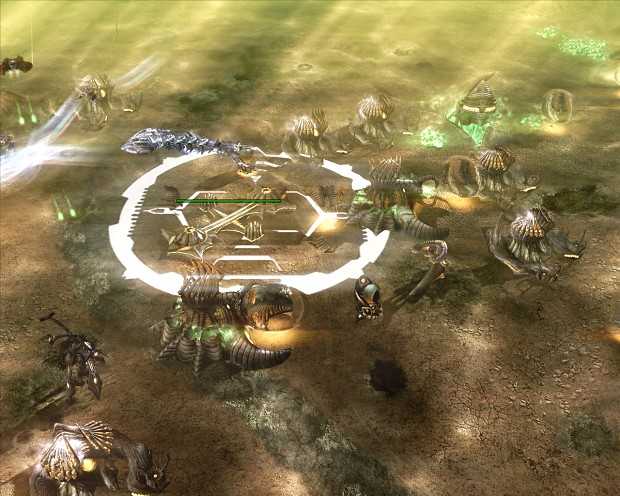
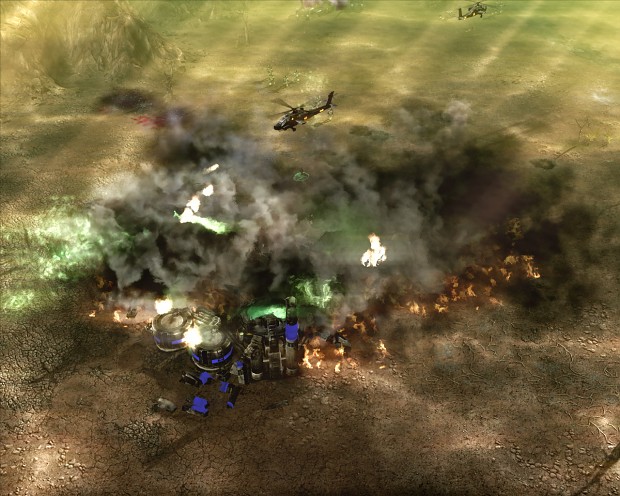
Target Tech structure
"There they go!"
Done!
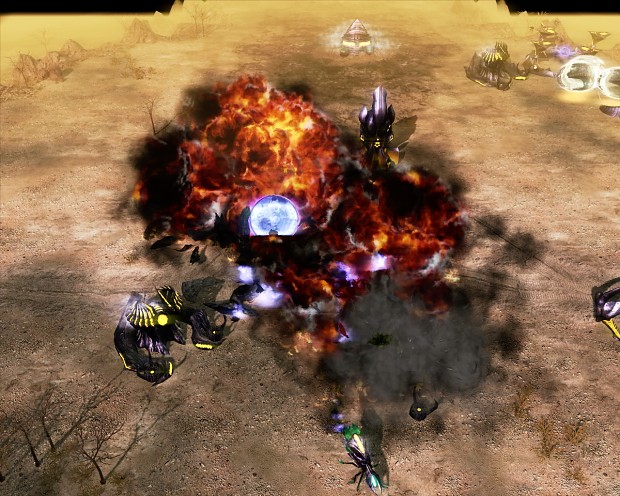
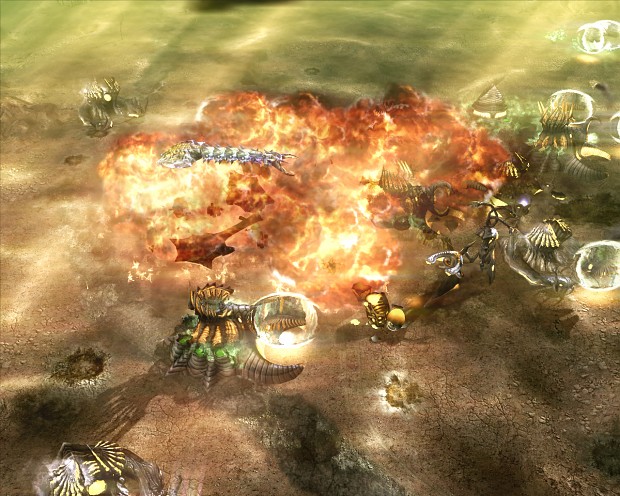
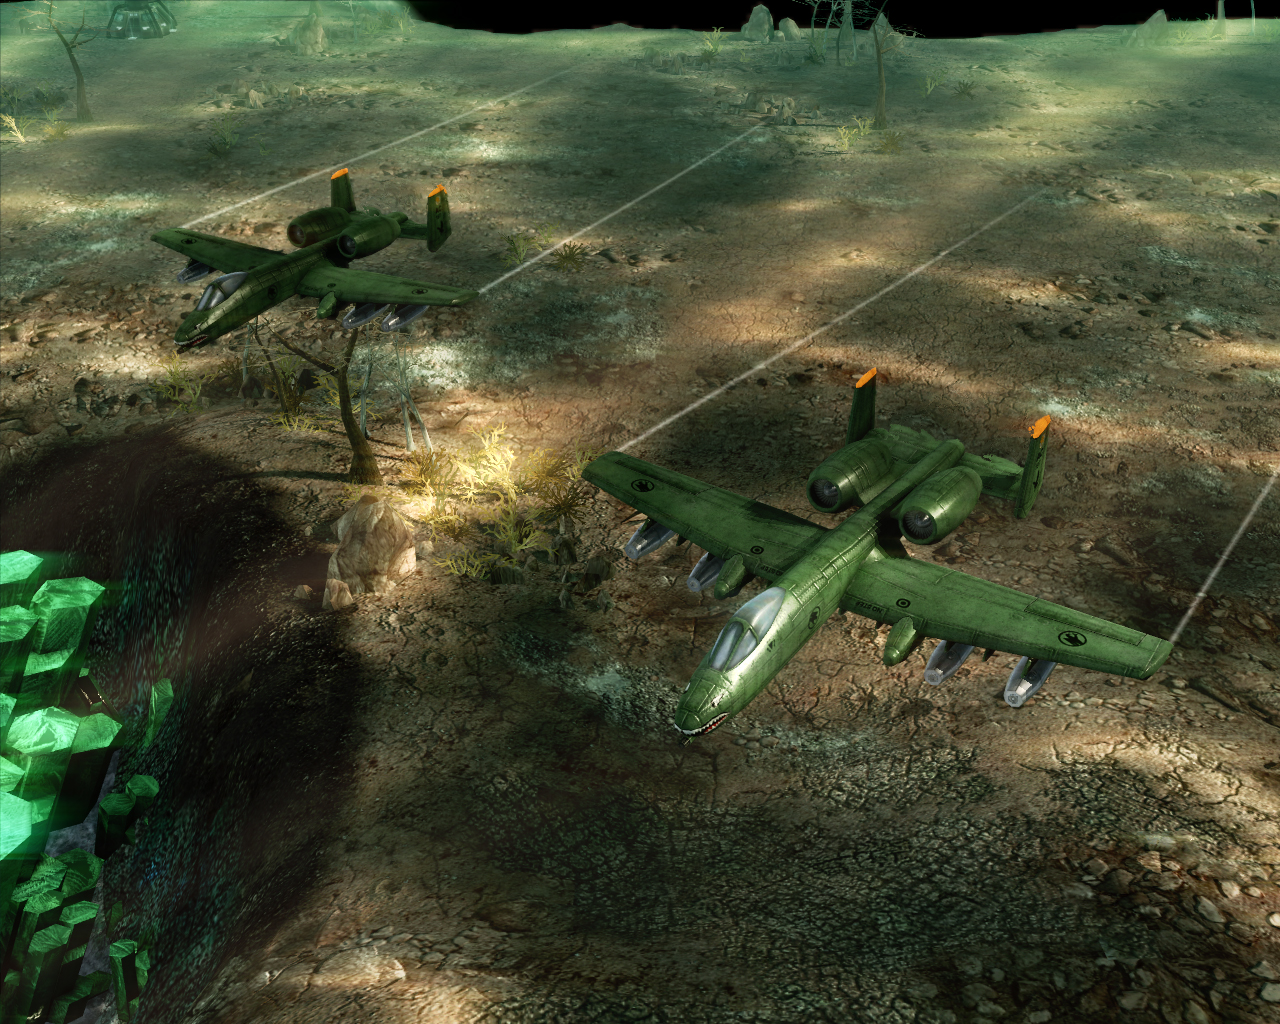
Both air strikes are delivered by two aircraft, although the napalm strike has a much larger area of effect.
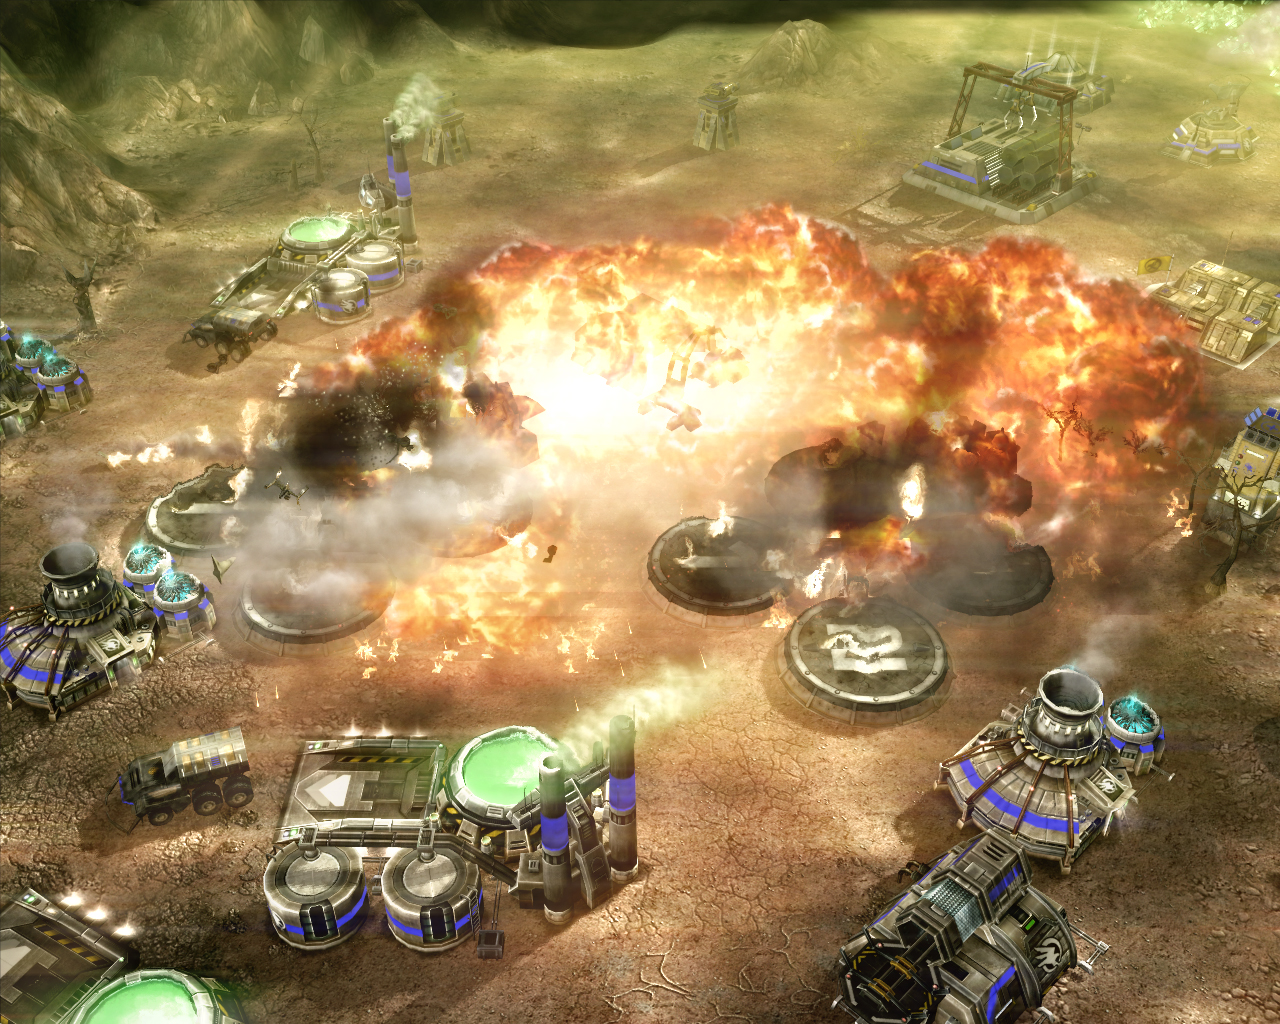
In terms of the damage that the napalm strike can do, if a building up to the health of a War factory is centred over the target decal, it will be destroyed. Structures around the edge will be heavily damaged or destroyed, depending on their initial health.
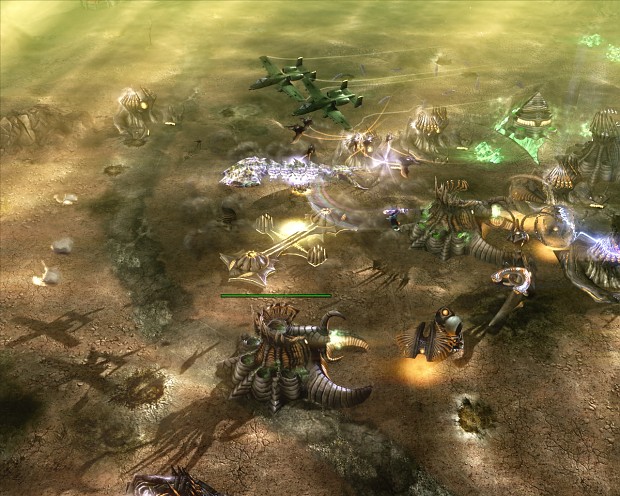
Aftermath!
Counter
Obviously you will need some serious anti-air in order to cleanly take out the A10s that deliver the napalm strike. What is interesting is that you know if your GDI opponent is at tier 3 or higher, that at some point a napalm strike is coming, so you have time to prepare.
Another detail that you should know is that the beacon that tells aircraft where to drop their bombs is stealthed, so you need to have active stealth detection in the target area to even know exactly where the A10s are going hit.
Although realistically, all you need is good scouting and map awareness.
For the Scrin, upgraded Plasma batteries at the perimeter will do massive damage in relatively small numbers (like 4 or 5).
The Storm column will actually take 3 hits(!) to cleanly destroy an A10, but a couple of them should at least be able to down one aircraft, cutting the damage of the air strike by half.
You would need too many Storm riders to do the job cleanly, but if you spot the A10s inbound very early on, by all means weaken or destroy them using a swarm of Strom riders (be warned that you cannot keep up with the Speed of the A10's for long).
For Nod, Banshees no doubt!
The fierce 'dark' upgraded Obelisk will destroy an A10 in 2 hits, but you will almost certainly need at least two Obelisk to even take out one aircraft. A saturation of Blue mix upgraded SAM sites will do massive damage to the A10 also.
GDI probably have the easiest solution, the Warhawk (with AA missiles armed obviously). Even better, if they are upgraded with hardpoints, a single Warhawk will take out an A10 (so you only need two upgraded Warhawks to intercept the air strike).
Even better still, if they are fully upgraded and also have the Strato boost ability, you can quickly jump to the A10s location, and cleanly take them out, before they are any where near your base.
Failing that a small number of Hover MLRS (say 4 or 5), should be able to take the A10s down, if you position and move them correctly (certainly you will at least down one A10).
Poorly placed Advanced guard towers will not do the job!
And rest assured that you will have a hefty experience point reward for downing an A10 provided you use a unit that can gain rank to deal the finishing blow!
Some Stats:
Speed: 230
Hit points: 6,250
Reload Time: 360 seconds
Enemy Experience Reward (if Destroyed): 5000 each Aircraft!
Napalm Weapon
Weapon strength: 1,200
Weapon Radius: 100
Weapon Clip size: 6
Damage type: GRENADE
Notes: Does 75% damage to GDI & Nod Construction Yards. Does 150% damage to Base defences and 'VEHICLES'.
Napalm Firestorm
Weapon strength: 10
Weapon Radius: 100
Weapon Interval: 0.1s
Firestorm time: 10 seconds
Notes: Can clear garrisoned buildings!
Do you smell that?
Edited by Madin, 18 February 2016 - 11:37 PM.


