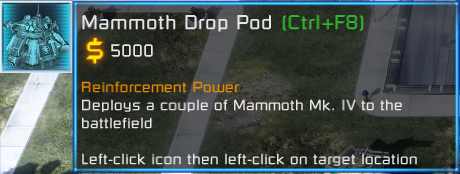
Name: Mammoth Drop Pod
Cost: $5000
Side: GDI
ERA: Tiberian Twilight
Special power type: Reinforcement
Reinforcement amount: 2
Tier: 4
Intro
The Mammoth drop pod is a high level (tier IV, requires Space Command Uplink), and extremely destructive 2 part support power. The parts comprise an initial 'attack', followed by a spawned reinforcement.
In this regard I would liken it to the BFME Balrog(!). That famous support power is also a 2 part power that has a very destructive, army killing attack phase, after which the poor opponent has to deal with the spawned (base destroying) Balrog!
I will break down and discuss the 2 parts next.
The Crawler Drop Pod
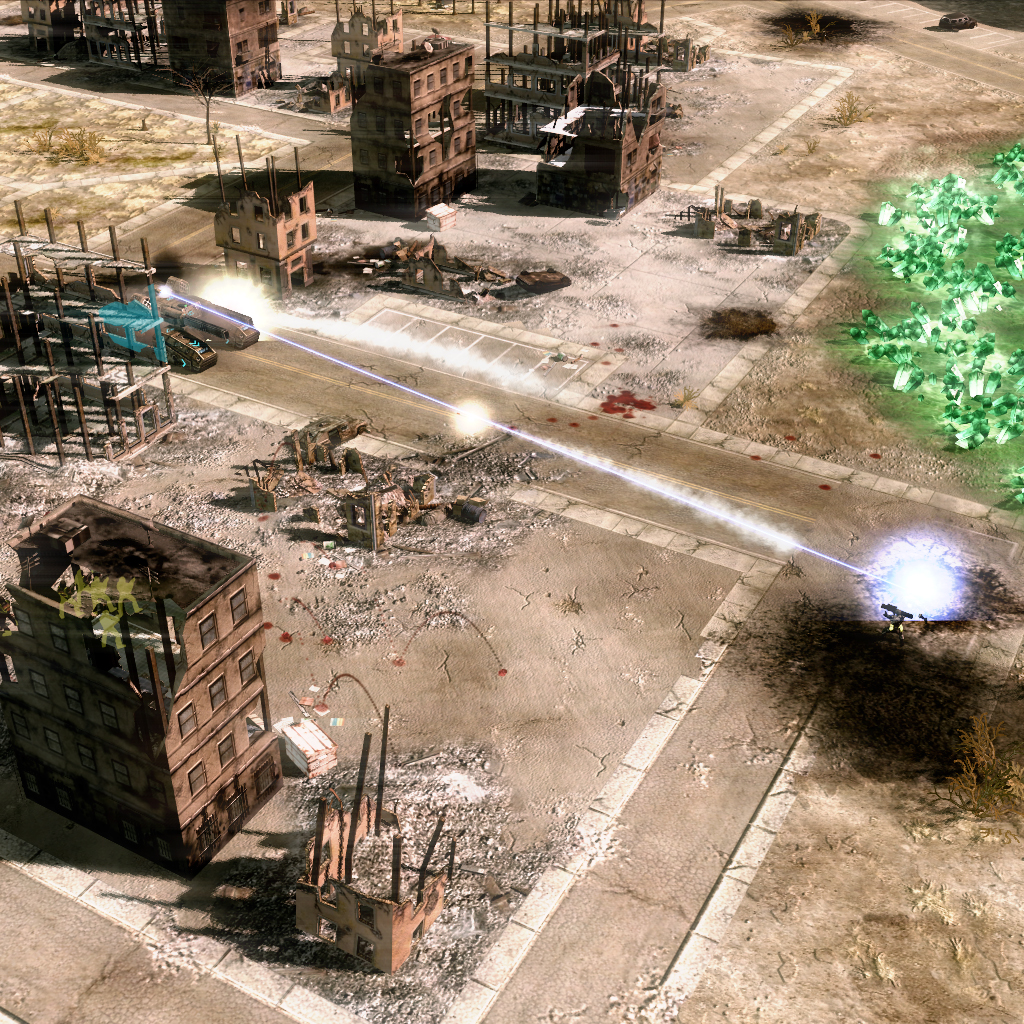
The Mammoth Mk.IV's are large enough that only the Crawler drop pod can deliver them! Once you have placed the support power cursor and activated it, the massive drop pod will quickly come down at the target location.
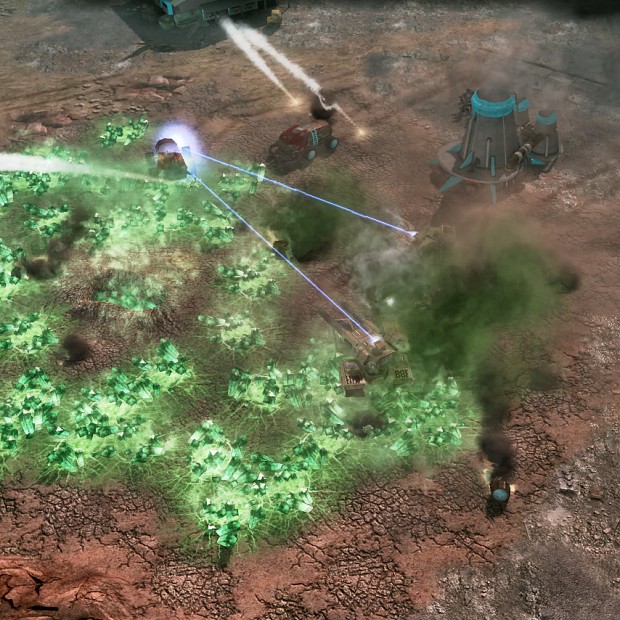
Due to the massive size, anything, vehicle, aircraft, or infantry, will be destroyed! (crushed). While you cannot deploy over structures (or damage them), anything that is not the Hexapod, will be cleanly killed by the drop pod.
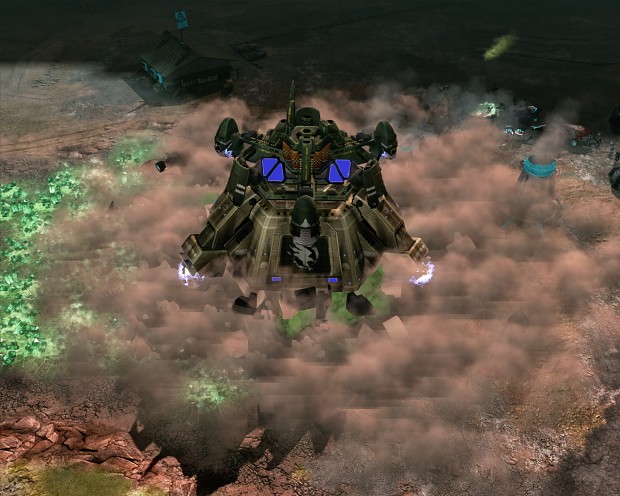
Squashed!
This is really powerful! easily the best army killer support power GDI has (the Hornet strike is too easy to avoid).
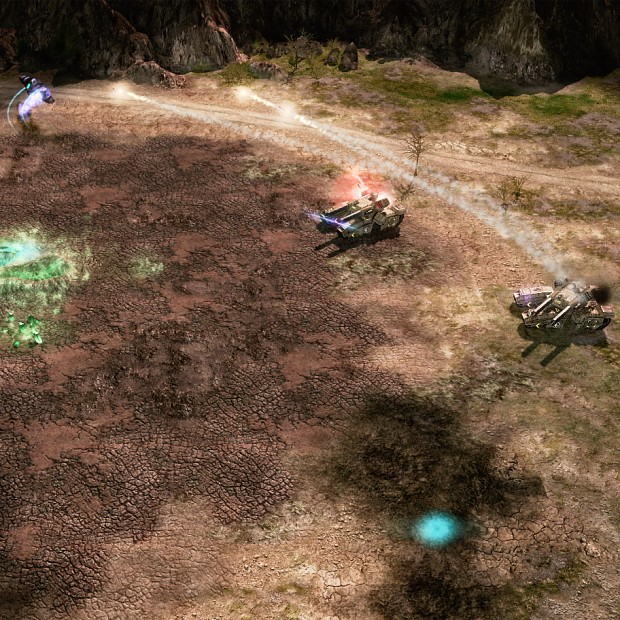
In a large high tier battle, you could easily destroy enemy units worth way more than the $5000 you are paying for the power, but after the destruction, your opponent then has to worry about the 2 Mammoths that are left!
And now a couple of Mk.IV's to deal with!
Let us move on to them next.
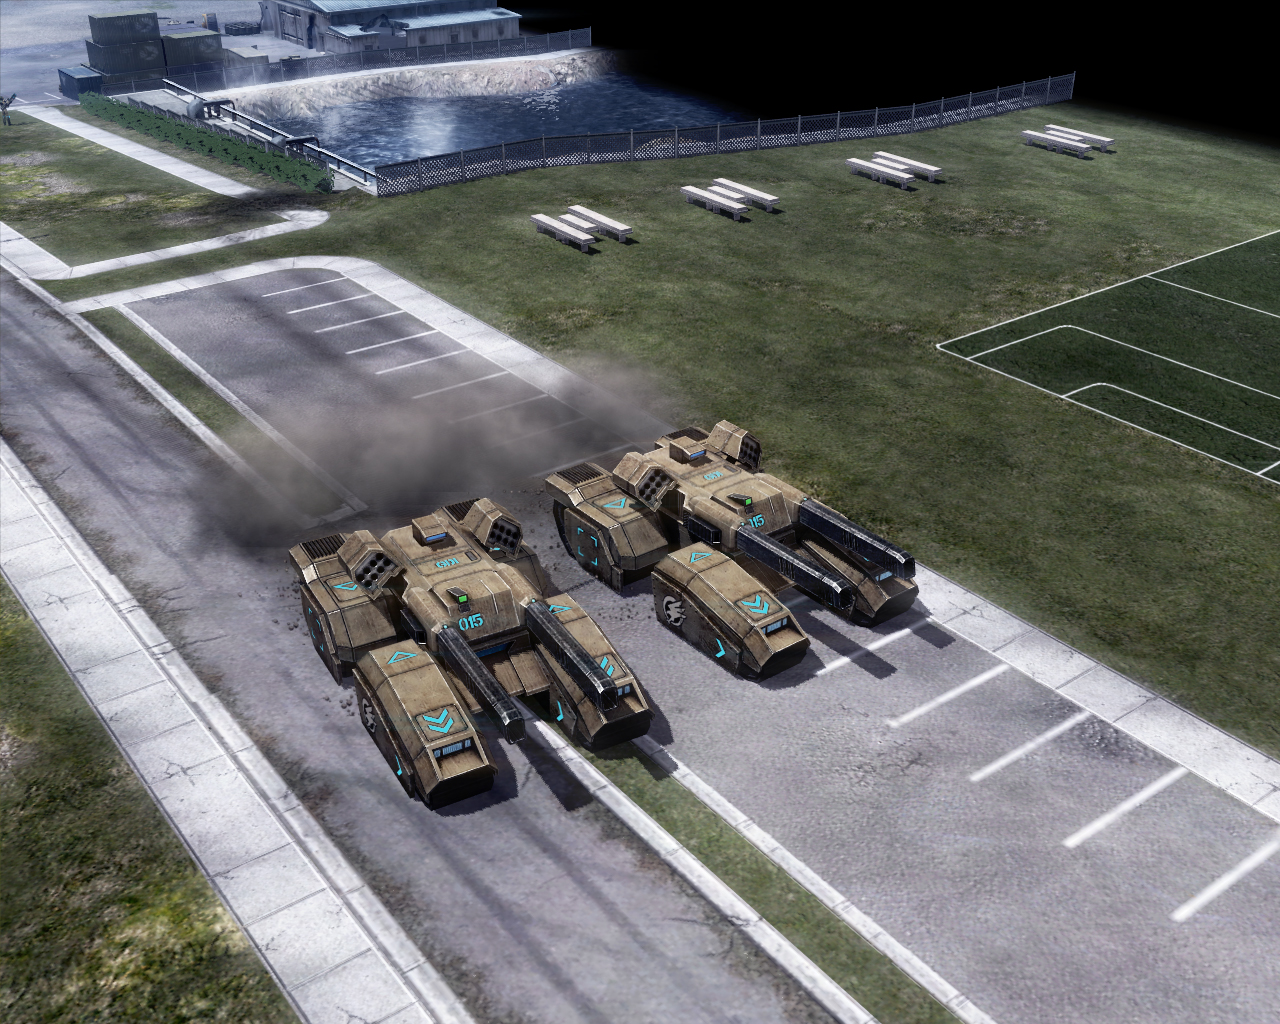
The Mammoth Mk.IV
The Mammoths that are spawned represent the fully upgraded Tiberian Twilight Mammoth tank, and so the closest comparison would be the C&C3 Rail upgraded Mammoth, and not the Tiberian Dawn Mammoth that is used in Tiberian History.
The Mk.IV has:
- Same improved range as the Tiberian History Mammoth.
- Double the Missile clip compared to the C&C3 Mammoth.
- Improved 'always active' self repair.
- Rail gun does splash damage!
- Better health and speed compared to C&C3 Mammoth.
- Target laser.
Some of these items do not need to be discussed (range).
The missiles (2) have the same long reload time that the C&C3 Mammoth tank has, it is not the lower clip, shorter reload time of the Tiberian Dawn Mammoth tank. Also they are the same missile type as the C&C3 Mammoth, not the 'improved against infantry' Tiberian Dawn Mammoth missiles.
The number of missiles are dangerous for aircraft to deal with!
The improved self repair (3), is basically the Harvester style repair, were it does not stop repairing when the vehicle is taking damage.
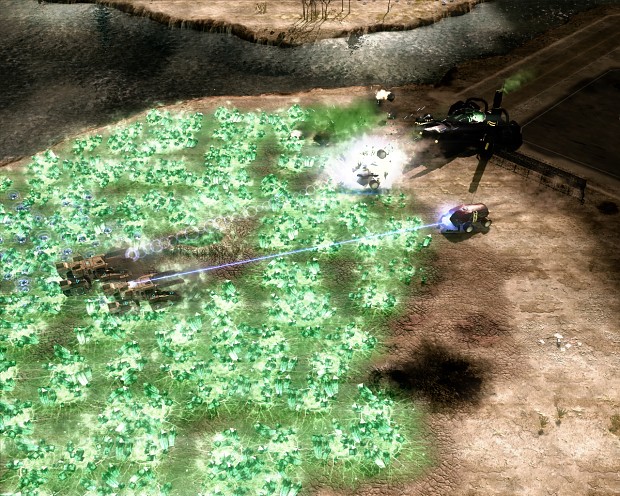
The Rail gun doing splash damage is a big deal! it greatly improves the Mk.IV vs infantry squads.
Improved Rail gun!
I will discuss the Target laser next.
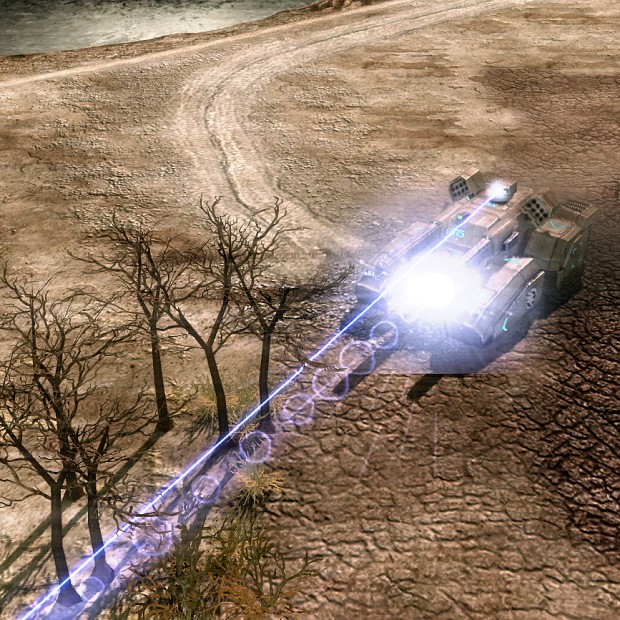
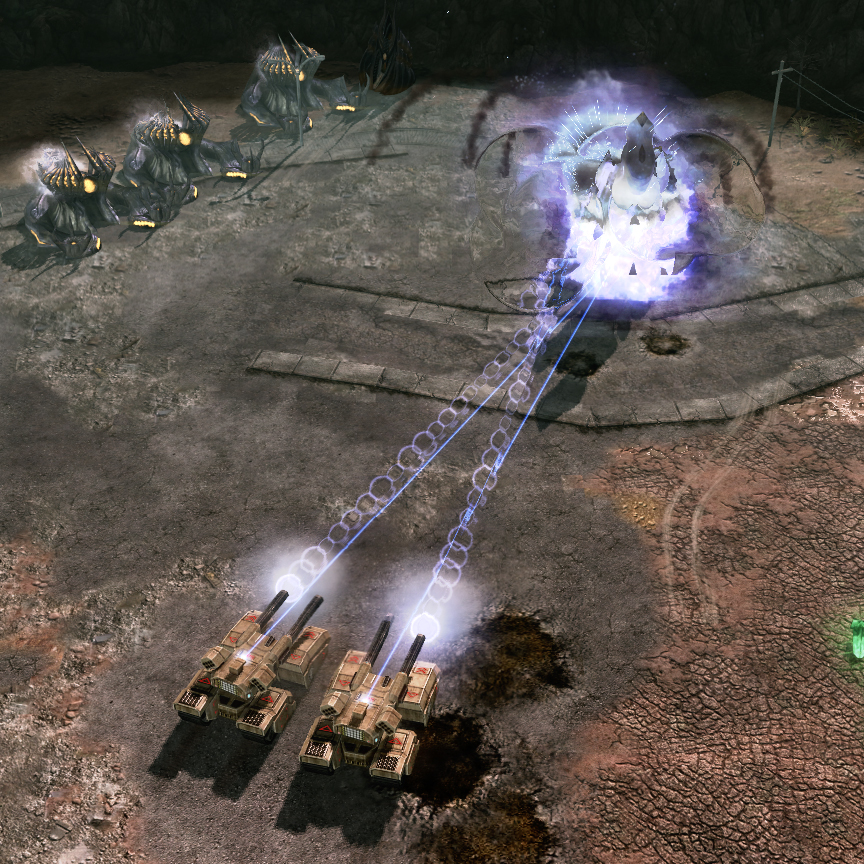
Target laser
So finally we get to something really different.
This laser can only target ground units and structures, and has two different uses. Vs infantry it operates as a dazzle laser. The effect of the laser on infantry causes them to go prone, and greatly reduces the speed and range at which infantry attack. Finally it will also do a small amount of damage to infantry. This is more useful against infantry then you might think.
Useful vs Infantry!
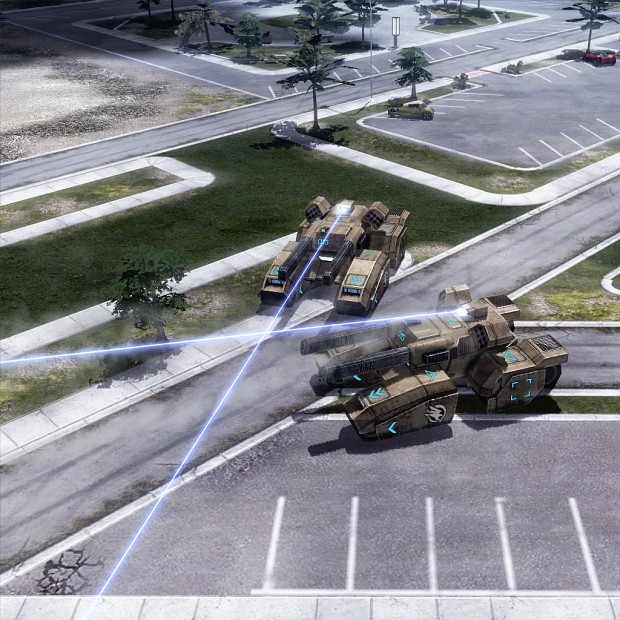
Vs vehicles and structures, it works as a target laser that allows all of your units to do slightly more damage to the targeted unit (10% more). Unlike the dazzle laser, the effect of the target laser stacks up to 5 times (ie up to 50% more damage to a targeted unit).
If a target is painted by the laser, it will taker more damage!
Obviously the target laser is the difference, and vs the Scrin and Nod late game units, a few Mk IV will be very handy if used correctly.
Gameplay
While it would be preferred that you use the drop pod on enemy units (to increase the enemies loss, while making your usage more cost effective), the fact that this support power is also an unstoppable reinforcement power, means that there will be many occasions when the intelligence you gained, means that dropping a couple of Mk.IVs in an area where your opponent cannot quickly respond too, will be the best thing to do.
Of course GDI's 'Radar Scan' ability can play into this. For example if you were having a battle with your opponent and you used the drop pod power to drop a couple of Mk.IVs behind the enemy's line, with their forces engaged in a battle, they would have a decision to make, and the amount of damage the Mk.IVs can do, means that they cannot be ignored!
Brutal!
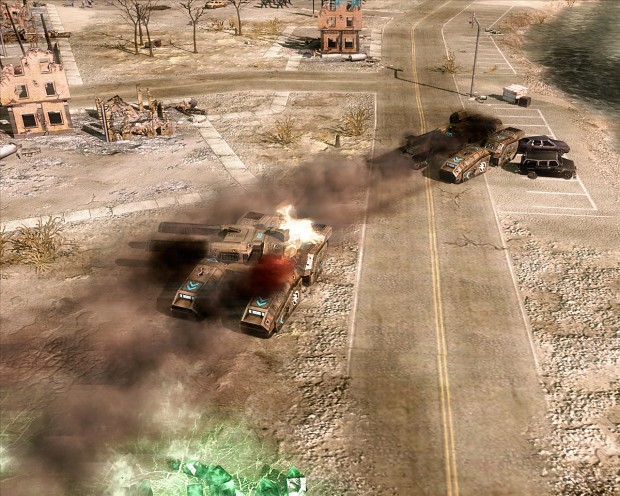
Naturally if your are being heavily attacked, the drop pods could easily save you from defeat, if used defensively.
Since this support power has a long reload time, make sure that you look after your Mk.Ivs. Back them up if they are taking too much damage, so they can self-repair, have a Rig ready to deploy, so it can heal the Mk.IVs, obviously if you are close to your base, then a Repair bay (or a few Repair bays!) is a great way to repair your Mk.IVs.
Back 'em up!
In battle terms, this is easily GDI's best support power. It has incredible flexibility, deploys extremely fast, and is unstoppable! there will probably have to be some balance tweaks further down the line, so enjoy this great support power while it is at its best!