


Damn, it's been a while, so I indulged myself in doing art for a couple of hours:

-
Posted 29 June 2014 - 10:16 PM
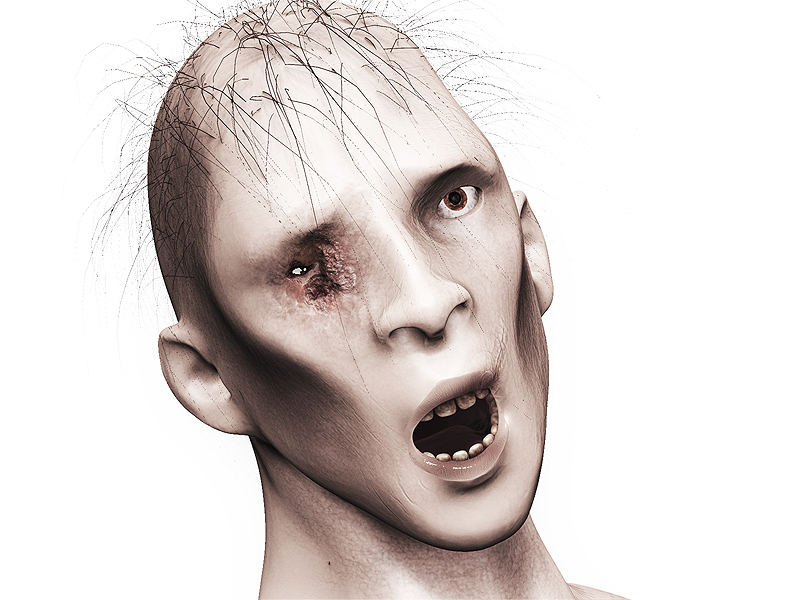
Damn, it's been a while, so I indulged myself in doing art for a couple of hours:
"Everyone's a hero when there's nowhere left to run."
- Auxiliary Skarn, 2333rd Cohort
title available

Posted 29 June 2014 - 10:34 PM
Edited by Lenwë the Luscious, 29 June 2014 - 10:35 PM.
-
Posted 30 June 2014 - 05:40 AM
Oh, well first you need zBrush. Then you use brushes to add and subtract the mesh symmetrically to form the head shape vaguely, then the ears, nostrils, mouth cavity and eye sockets, and then use the Dynamesh plugin to spread polygons equally over the area (so that the polys you've stretched become regularly distributed). You create a first subdivision, and refine the shape to better proportions, this repeat until the area is smooth. Then draw a sphere in an eye socket and position it correctly so the eyelids cover 50-80% of it. Use a mask to cut off the back of the eye because it's unnecessary poly wasting. Again, heavily subdivide for smoothness, to about 100k polys.
For the teeth, you want to basically draw a sphere and squash it into a vague soft-edged cuboid tapering at one end, with a small cavity at the top on the molars. Then duplicate the teeth to fill one side of the mouth and mirror the eyes and teeth for symmetry.
Then apply (or make) a MatCap that simulates skin. I usually use custom ones, but for this I used a prefab one.
Next, for painting. The golden rule of painting models for me, is to never paint with a solid colour, you select the 'crack lines' alpha and brush with colour spray, to give it variation in tone and to give it a textured effect. Hence, the texture feels more full and real.
For this model, I basecoated it in off-white orange with smatterings of pale red and blue, then with a heavily desaturated red, heavily coloured the inner mouth and cheeks to make them more prominent, and painted shadowing under the eyebrow ridges and jawline, to compliment the generated shadows. In retrospect, I should have done the same to the nostrils.
The teeth were painted by basecoating them in a dark red, then slowly adding mid-tone yellows as they became more visible above the lip. The eyes were the most fun, though. Basically you crate a solid hard-edged circular mask, then invert it and bevel the area inwards and paint the iris colour, highlighted at the edges of the circle. Then invert the mask again and shrink it to highlight (to a lesser extent) around that mask. Invert it again, and paint the unmasked area black. There's the pupil. Around the pupil area, pull out a soft protrusion, which is a simple impression of the cornea.
Then mask the areas you want to have a slightly glossy effect (ie. eyes, lips, mouth, teeth, open/rotting wounds, etc) and duplicate the MatCap you're using as a blanket material and apply the duplicate, then on the modifiers refine and increase the specularity and how it reacts to diffuse till you've got something you like. Test it on BPR 'best' render mode to see if it blends well. If not, fiddle until it does.
For hair, use FiberMesh to generate it and use modifiers to lengthen, thicken and straighten it, then apply and refine the shape with Groom brushes to suit the model you're working on. I deliberately didn't use grooming on this because it looked better as is. When you're happy, subdivide it.
Pretty much how I made that model.
"Everyone's a hero when there's nowhere left to run."
- Auxiliary Skarn, 2333rd Cohort
Splitting Hares
Posted 30 June 2014 - 06:00 AM
Mmm-hmm... mmm-hmm... The Zbrush. Classic. Mmm-hmm... good use of the Dynamesh. Polygons. Subdivisions... uhh... shape... orange... lips... ... cabbages... So you make pictures, or something?
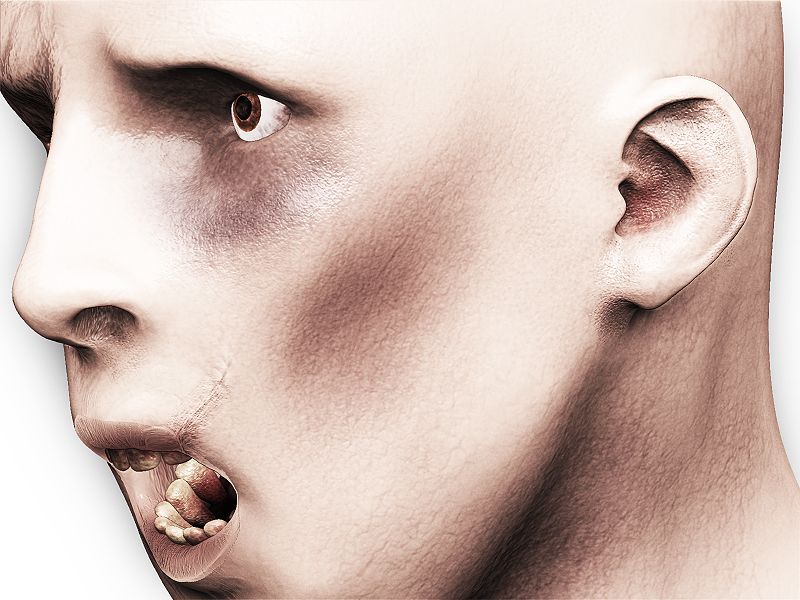
I dig the skin textures, the gaunt in the cheeks, the dental nonsense, and the nose is quite nice. Not too sure about the eyes...maybe some of that porous, dark skin that people get when they haven't slept would look quite good. And you never seem to make a fully detailed ear... which makes sense. A human ear is probably the hardest thing to sculpt on the human head. But you should give it a try. ... Any of this advice not sound like bull crap? I don't critique 3D models all that often (ever).
-
Posted 30 June 2014 - 06:07 AM
Ok, I'll try that now. Also, I don't do ears cause I make the basic shape then pretty much forget about it 
"Everyone's a hero when there's nowhere left to run."
- Auxiliary Skarn, 2333rd Cohort
Splitting Hares
Posted 30 June 2014 - 06:10 AM
I'm the same with hands. But the difference is that it's hard to hide ears without much hair... any stylish ear muffs in your unholy arsenal?
-
Posted 30 June 2014 - 06:29 AM
"Everyone's a hero when there's nowhere left to run."
- Auxiliary Skarn, 2333rd Cohort
Splitting Hares
Posted 30 June 2014 - 06:35 AM
Well, if I would like to only use one word, it would probably have to be: quality.
-
Posted 30 June 2014 - 06:46 AM
 Yay! I'm happy now.
EDIT: I mean, thank you very much, sir, for your kind words.
"Everyone's a hero when there's nowhere left to run."
- Auxiliary Skarn, 2333rd Cohort
Splitting Hares
Posted 30 June 2014 - 06:57 AM
Quite.
*A note! :
You should take advantage of our wondrous new sketchfab machine so I can spin your head around.
Edited by Pasidon, 30 June 2014 - 10:40 AM.
title available
Posted 30 June 2014 - 02:35 PM

I'm a doc, not an...

Posted 01 July 2014 - 12:26 AM
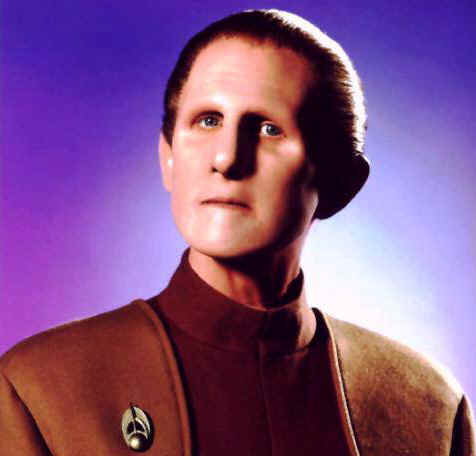
Somehow it reminded me of Odo

kudos to Pasidon for this awesome avvy and siggy!


0 members, 0 guests, 0 anonymous users

