So I decided to write this tutorial. I made this tutorial for rotwk, but it will be basicly the same with the other games, only less work with bfme1.
By the end of this tutorial, you will know how to make a hole new colour theme for your mod. when i say colour theme, i mean the Palantir colours, the button art for the main menu, and ingame menu and any other back ground art you see.
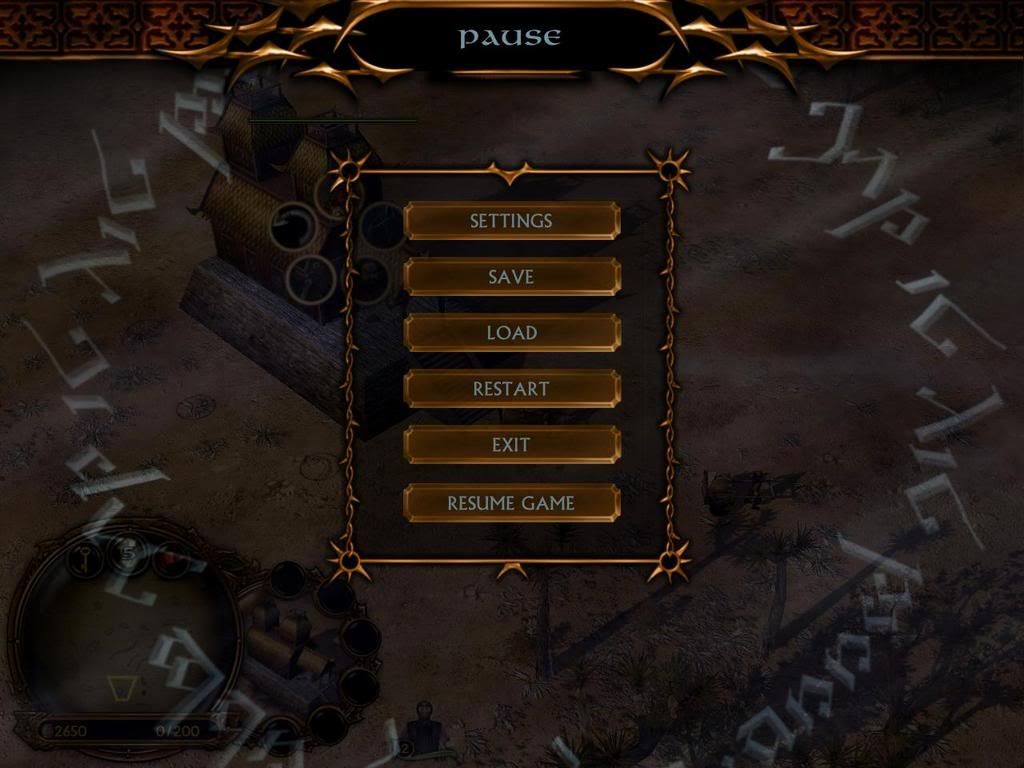
Changing the Colour Theme Tutorial
For this tutorial you will need,
Final Big,
Photoshop,
A basic understanding with photoshop and getting new art ingame
Coffee
Now, here's probely the most boring bit, so put music or a dvd on and just get it over and done with in one go. You will need to go into the "apt" folder in your rotwk install directory. In there you will see 88 .big files.
They contain most of the art you need to edit. The "fun" bit is, that not all of them contain textures, so you will need to go through every single .big, and extract any textures you find in any of them.
Extract the textures to somewhere safe, so you dont need to do this again.
After I had done this i had 112 texture files. Now make a new folder called "art" and make anouther new folder inside that called "textures". Its in here where you must place all your edited texture files.
Now you will need to go through all 112 texture files, and recolour them. Theres no need to go into details about this, just use the recolour brush if you want to keep it simple.
You could at this point design a new palantir, or new art design. For example, ea's rotwk a spiky theme, you could replace it with your own theme.
So once your done with the texture files. You should have them all in the "art/textures" folder.
Next, go back to the main rotwk folder, and extract "loadpage_bg" out of the "textures2.big" file. This is the load screen you see when loading cah for example.
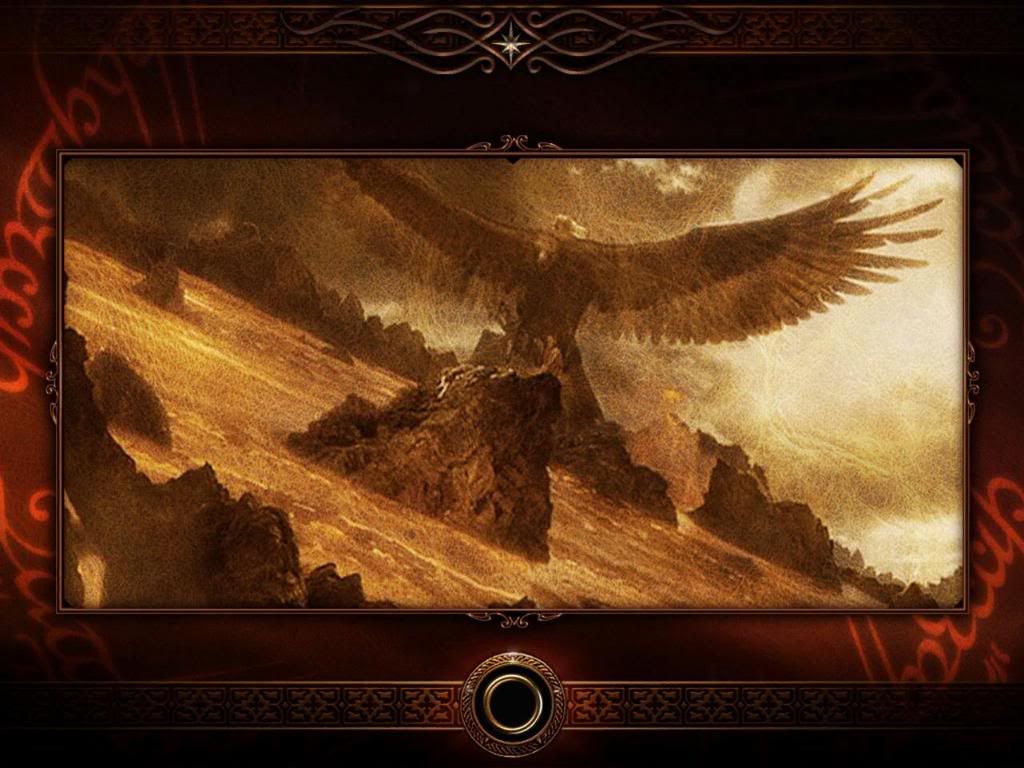
It would look abit out of place with the new art, so edit it as you like.
Once done, make a new folder in your new art folder called "compiledtextures" then anouther new folder in that called "lo". Place the edited loading screen in there.
Your nearly done, go back to the rotwk main directory, and extract all the "aptcomponents" files from textures1.big. There may be more or less files depending if your running bfme1, bfme2 or rotwk. There are some bars and buttons in these to be changed.
Once done, make anouther new folder in "compiledtextures" called "ap" and place the new "aptcomponents" files in there.
Thats about it. Simply drag the arts folder into finalbig and run usuing the -mod command and your good to go. no new asset.dat is needed as your replacing art, not making new art.
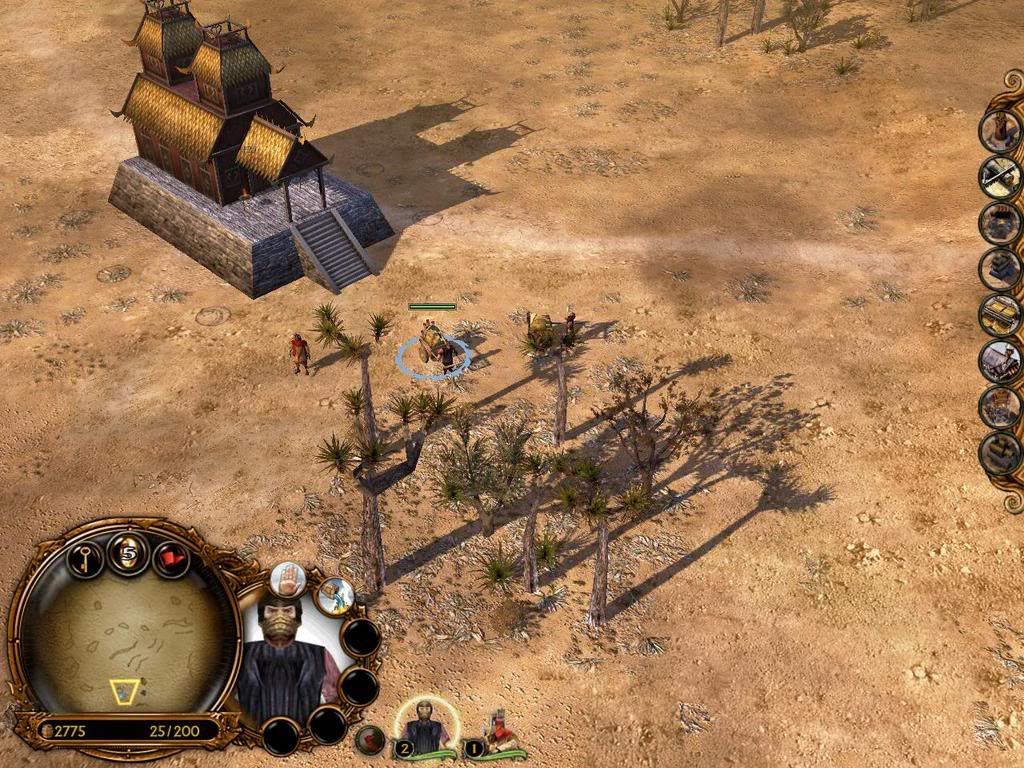
I have found some problems however, not all of the art seems to be in the .big's in the apt folder. i have not found where all of the art is, you can see the blue bits below.
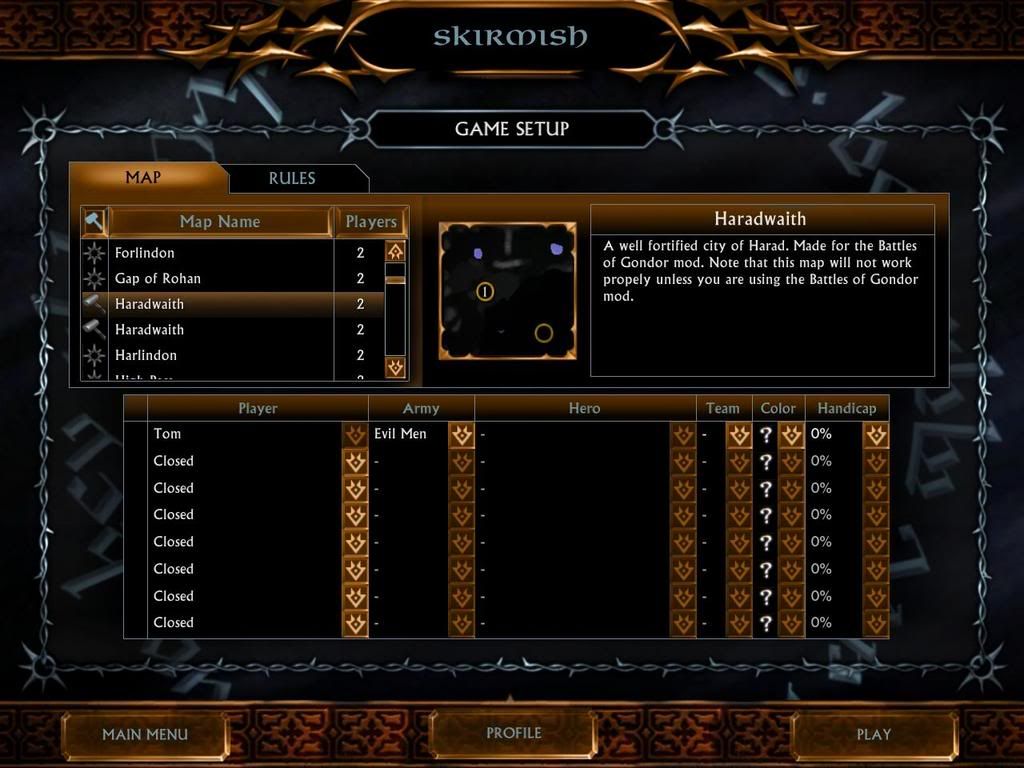
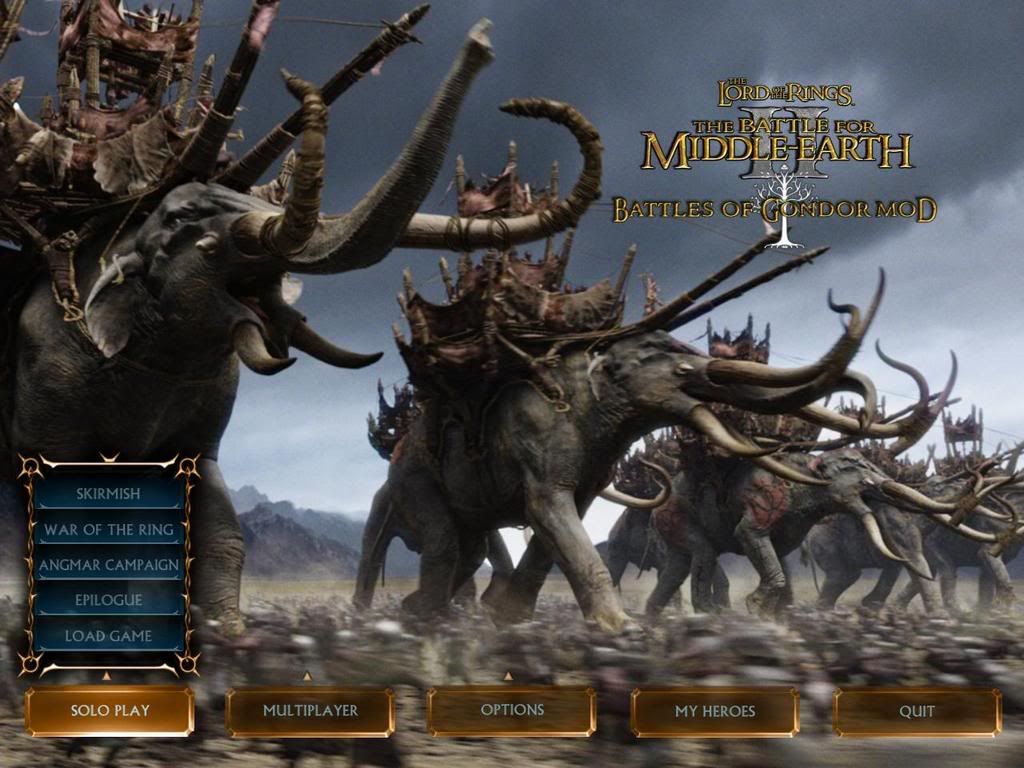
Also the font colour seems hard coded, so make sure the colour you choose looks good with the font colour.
Well thats it, i hope i did not make it too hard to follow and i hope to see lots of intresting mod themes now
Update: i have found where the last art bits are thanks to JEV3. They are in the "SF" folder in CompiledTextures.
Edited by Stealthsnake, 28 January 2007 - 11:54 AM.


