


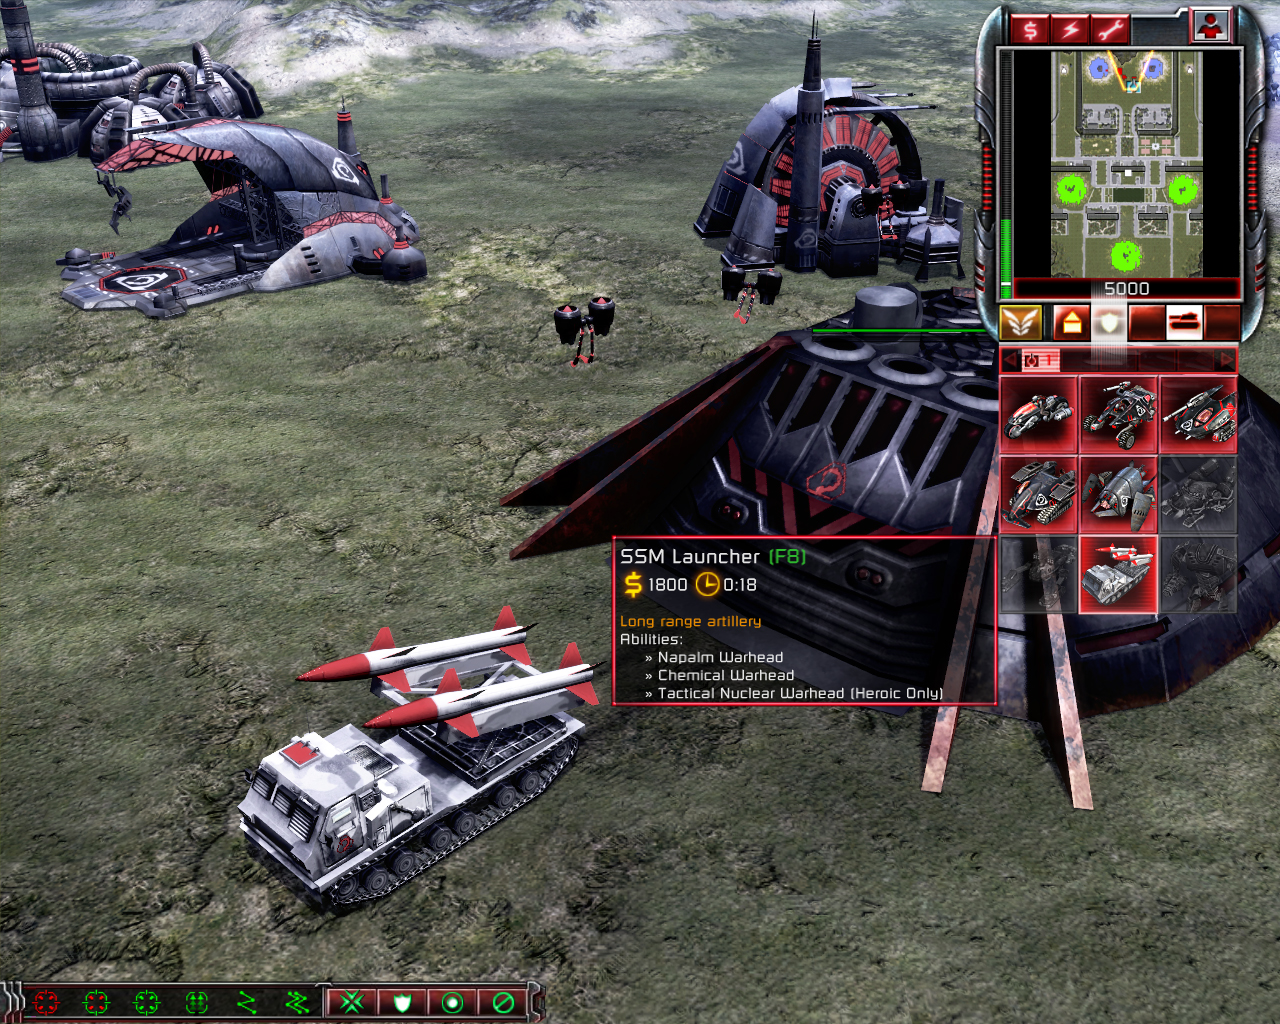
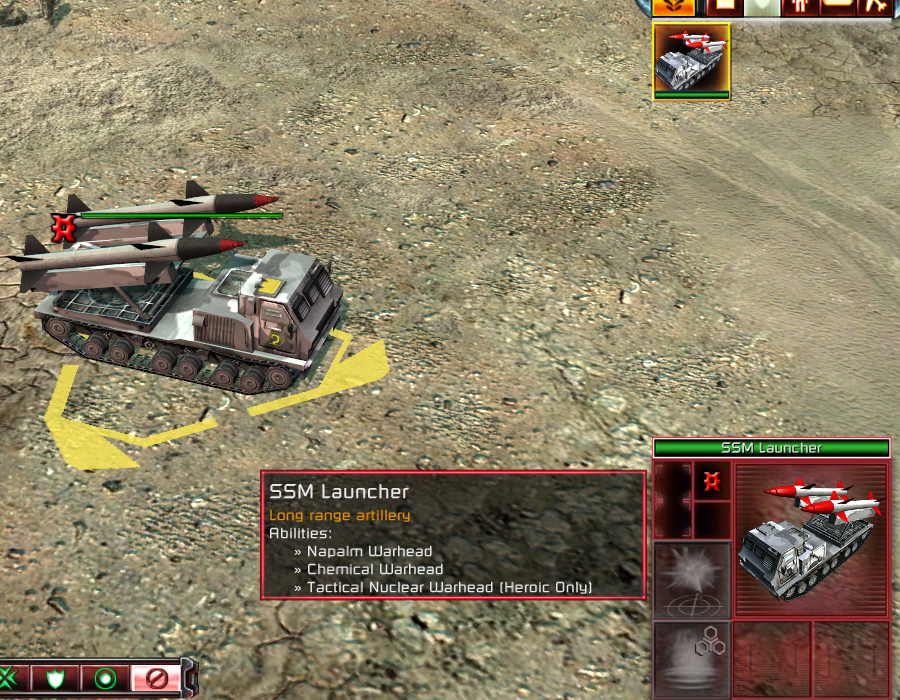
Name: SSM
Side: Nod
Tier: 3
ERA: Tiberian Dawn
Cost: $1800
Base Asset: Black_Drakon
Gameplay
The SSM is Nod's tier 3 artillery piece. Compared to the Nod Artillery, the SSM has a lot longer range, is more versatile, and is a lot more effective VS structures.
An upgraded Nod Artillery is better VS vehicles than the SSM, but the SSM plays a supporting role when it comes to enemy vehicles.
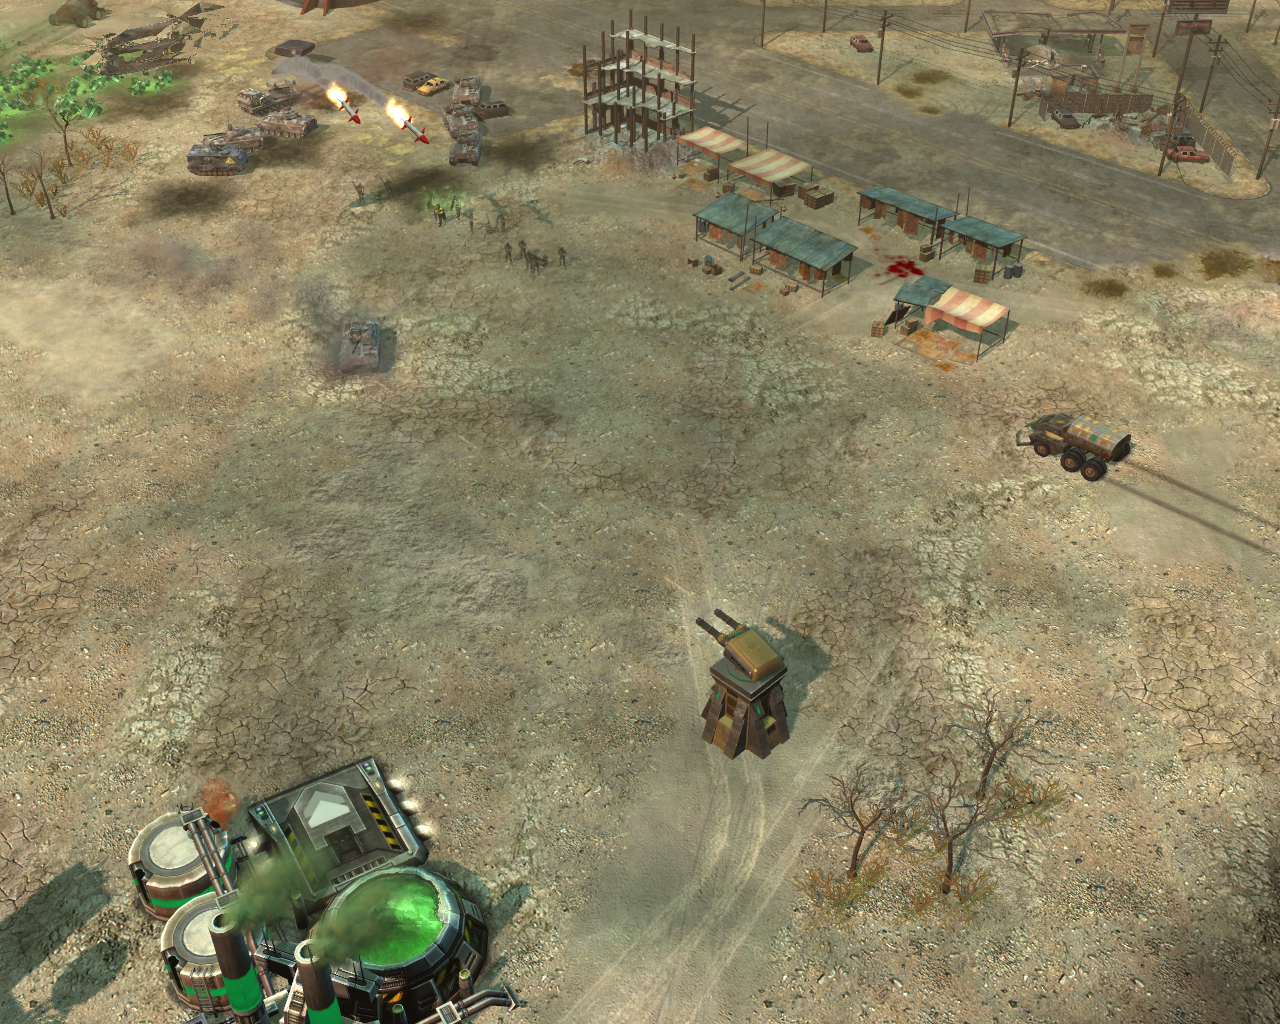
Massive weapon range!
The versatility of the SSM is based on it having 2 separate warheads that a player is able to chose from by default (the only rule is that you are not allowed to switch warheads while the other warhead is being actively used).
So a good start would be to look at those warheads.
Napalm
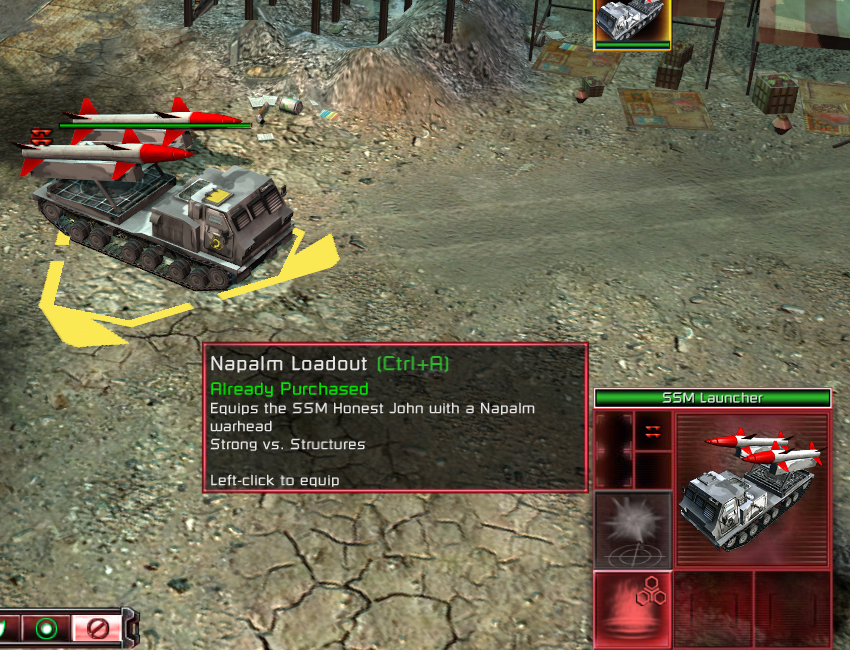
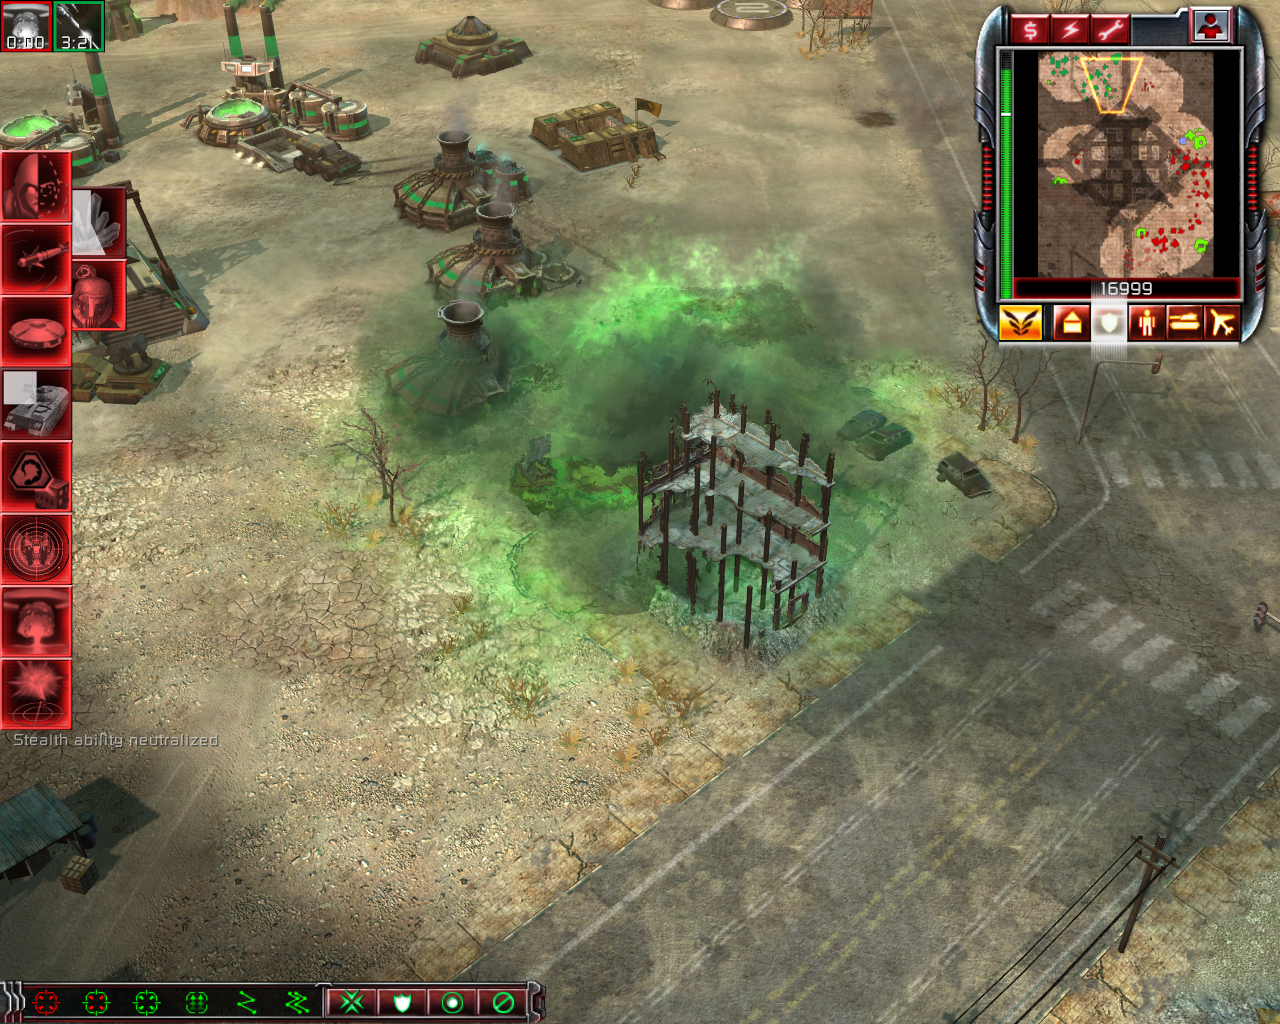
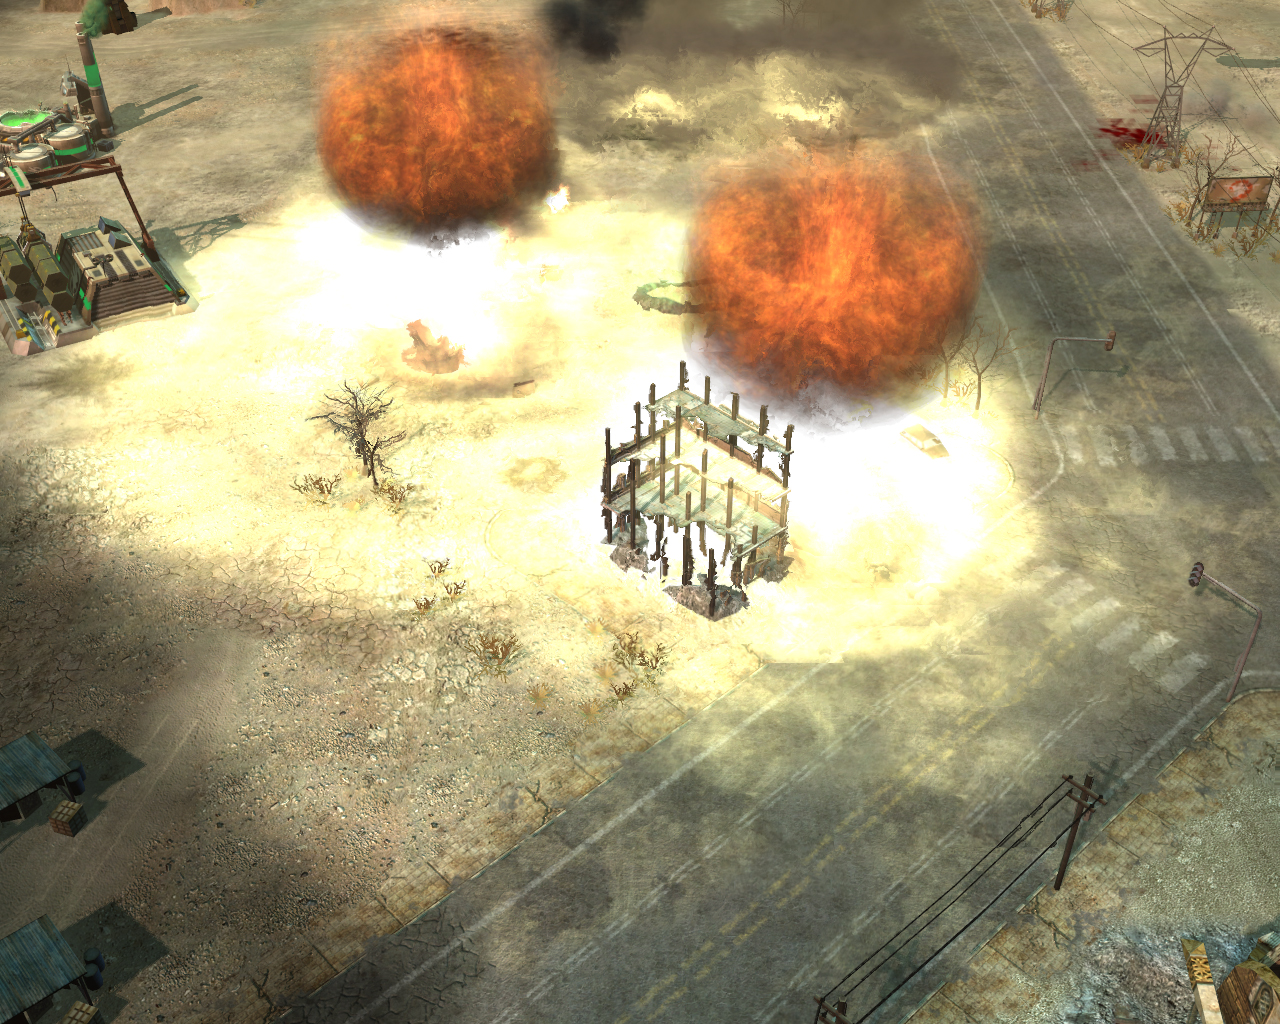
The napalm warhead is the default choice, and it is this warhead that makes the SSM the best structure killer.
Not only does the warhead do tremendous initial damage to buildings (and in a greater radius than any other artillery piece), but it will also continue to do burn damage for a few seconds after the initial impact!
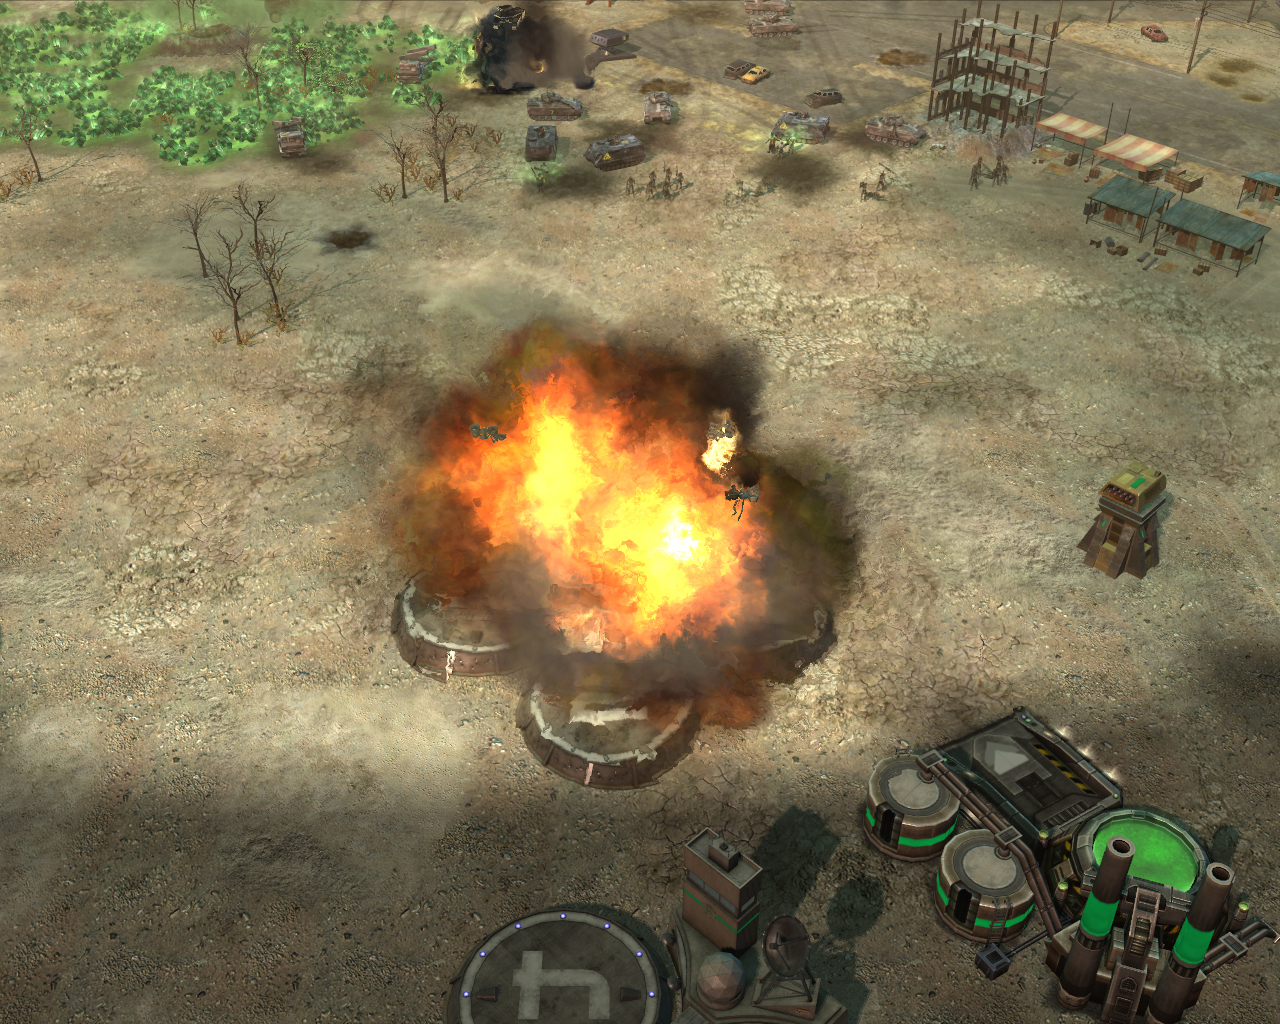
The fire-storm!
Needless to say, infantry will be killed almost instantly from the initial impact, but in addition any infantry that wander into the 'fire-storm' aftermath will also get burnt!
2 SSM's will take out a war factory class structure (easily, 1 would leave it with less than 25% of its health, depending on whether the structure was being repaired during the fire-storm), indeed overkill could be an issue, and there really is only so many SSMs that a player would need (and can adequately control).
Chemical
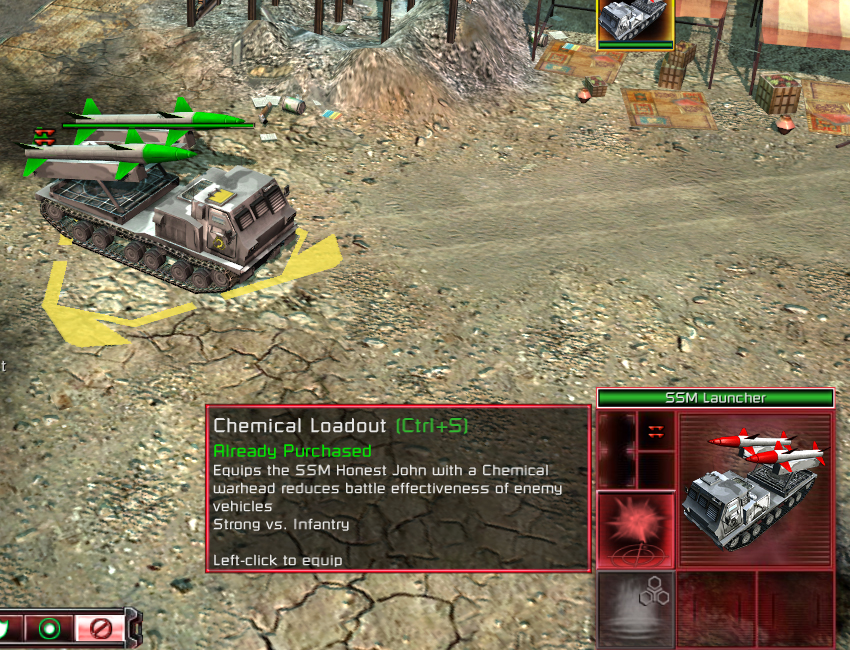
The chemical warhead is primarily a support weapon. I suggest reading up on the 'Chemical Warrior's' weapon, because the SSM's chemical warhead weapon has the same sort of effect VS vehicles. I will post some information here:
Amour 200%: This means that the effected enemy vehicle will take double the damage it normally does.
Speed 50%: The effected vehicle can only move at half its normal speed.
Rate of fire 50%: The effected vehicles rate of fire is halved.
Weapon range 50%: The effected vehicles weapon range is halved.
The SSM chemical warhead effect last for 10 seconds (it ends just before the SSM is ready to fire again). This gives you enough time to use other units to destroy the weakened enemy vehicles (for example use Stealth tanks, or Banshees). This is especially potent VS GDI's high armour, high health vehicles.
A strike on some vehicles, need to follow it up though!
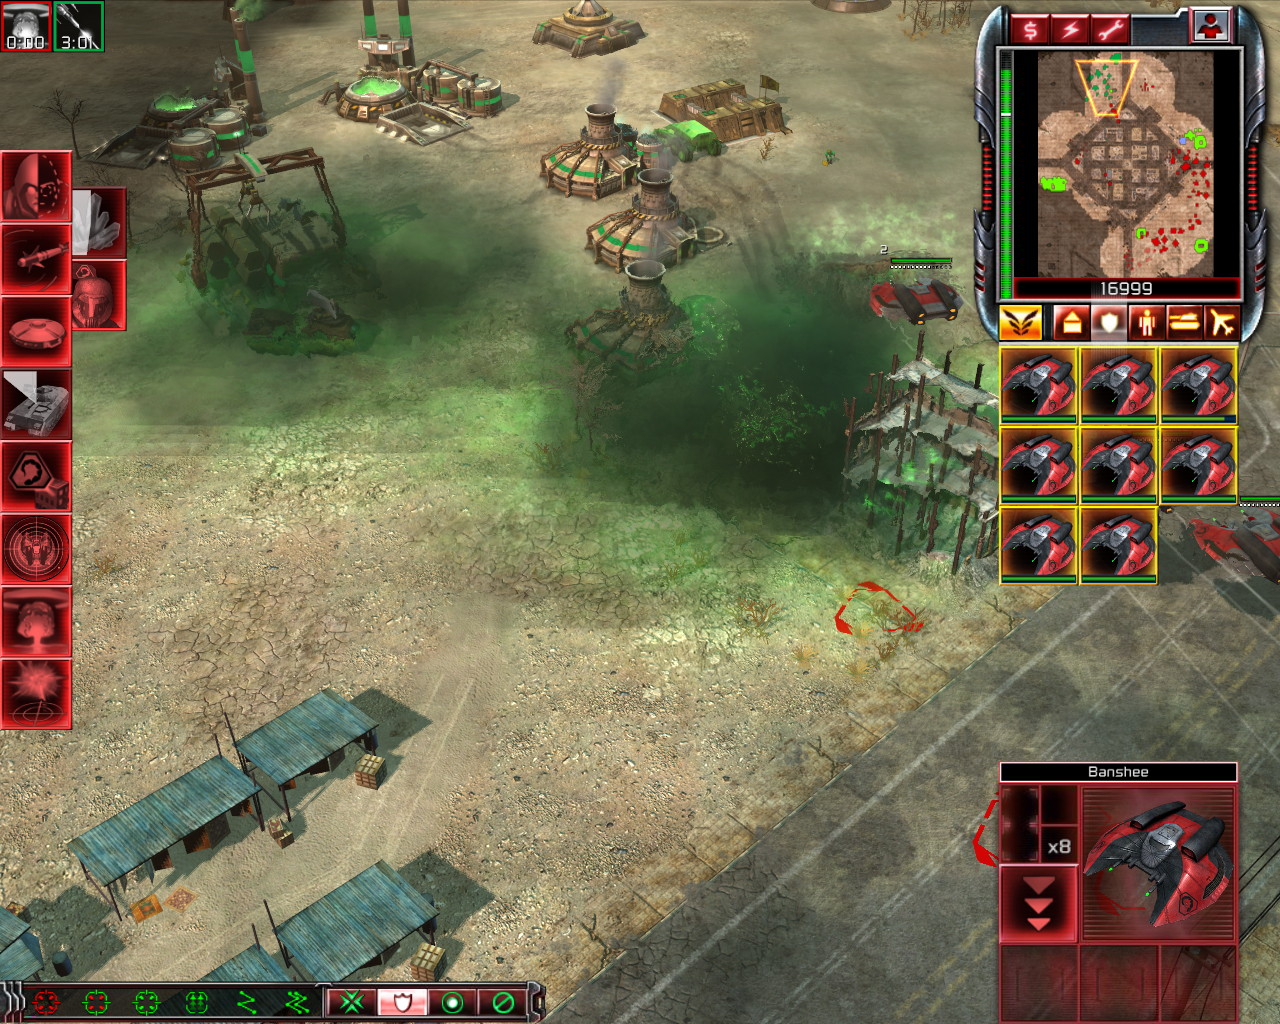
Some Banshees swoop in to blast the weakened vehicles to pieces!
Also it is very important to remember that the warhead halves the range of enemy units for 10 seconds, this forces them to either get closer to attack (especially useful on the GDI Juggernaut!), or to quit attacking until the effect has worn off. And finally it means that a number of your units that could not out range your enemy units, are now capable for the duration of the chemical warhead's effect.
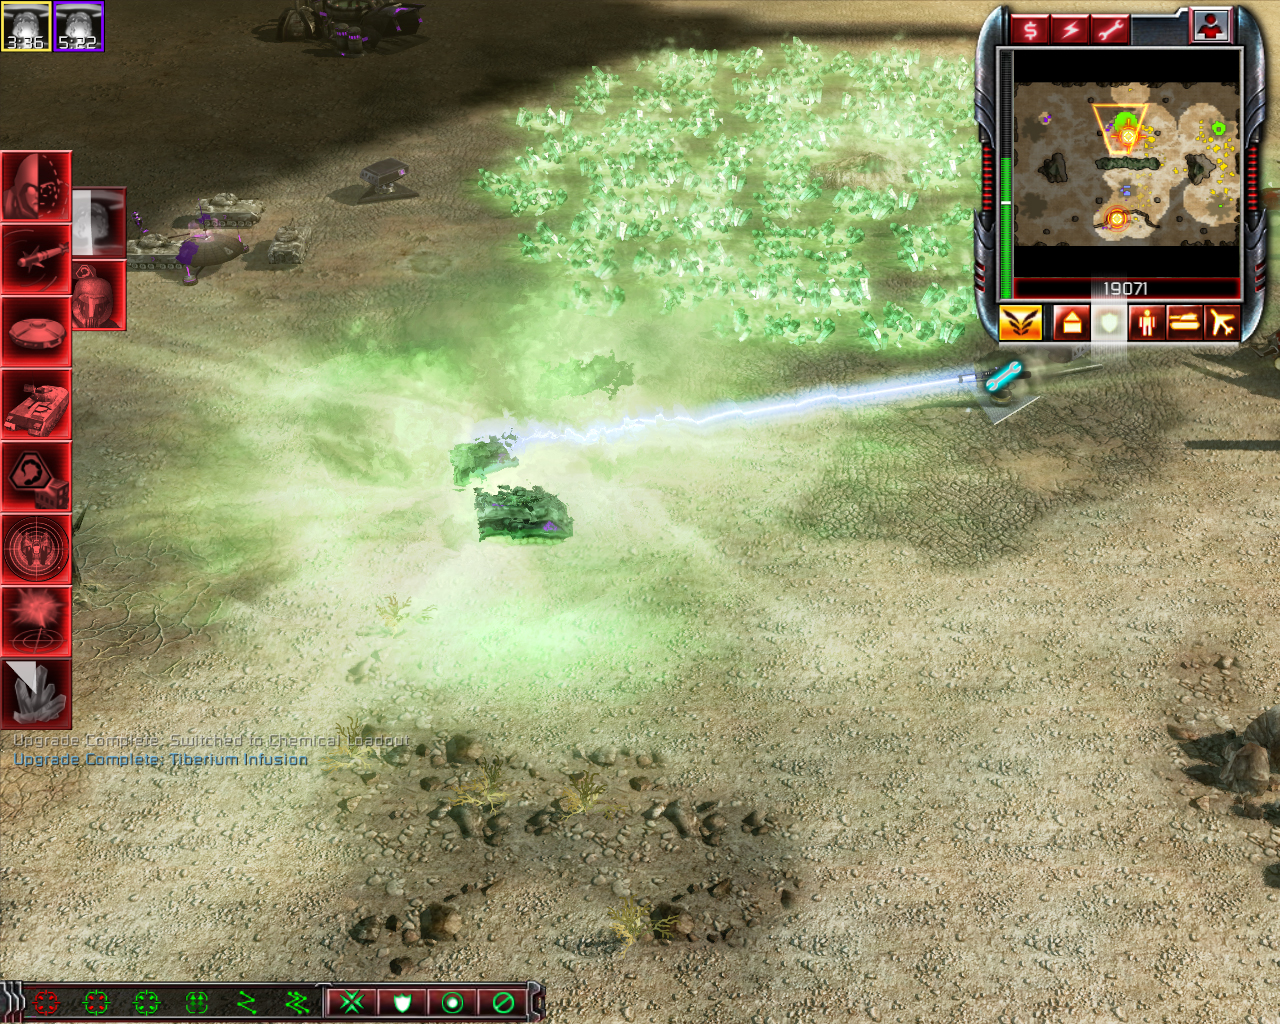
There is also a potential defensive use, provided you maintain control of your SSM
An additional feature of the persistent chemical fallout is that it slowly damages vehicles, it is not drastic, however it will stack with multiple missile strikes!
And obviously as you would expect, infantry stand no chance and must avoid the visible persistent chemical clouds!
Tactical Nuke
Once the SSM reaches 'HEROIC' rank, the 2 basic warheads are replaced by a single warhead, a tactical nuke!
While this is not as powerful as the Temple nuke, the 2 nuclear warheads basically do the same damage when combined, although over less radius.
The blast will do massive damage to everything (including aerial units, despite the fact that you cannot specifically target them). Once your SSM is protected, it is pretty much game over!
GG!
It is mostly recommended that you keep the SSM on 'HOLD FIRE' stance (Alt+F), because you do not want the SSM picking its own targets and 'helping' your troops out by firing on enemy units that are close enough to your units that the SSM kills both the enemy and your units!
With the heroic SSM, it is vital that the SSM is always under your control, only have the actual unit pick its own target if there is no chance of it wiping out your own units or structures (including aerial units!).
Negatives
Lets make a quick list:
- Very slow unit.
- Slow turning turret.
- Large minimum radius.
- Very low health and armour.
- Massive friendly fire potential.
- Very long reload.
Most of the above probably makes sense to you. As is familiar with most of the artillery units, if an enemy unit can avoid fire (3) and get in close, there is little that the SSM can do (4), it requires a sizeable escort.
The friendly fire issues have been discussed already (5), but there is no damage reduction for your own units.
Also to make up for the massive damage and range, the SSM has the longest reload of all the artillery pieces in the game, make sure that your missiles count, and that your defence of your SSMs are ready.
Standard anti-artillery tactics apply, it is preferable to use fast units, whether aerial or ground to quickly get to, and take out the SSM with minimum fuss. There will be times were it is better to lose a few cheap units and destroy the artillery pieces, rather than worrying about units losses, while your structures continue to take damaged.


